Account Setup
Getting Started
Overview
Setting up your DishFlowIt account takes less than 2 minutes. You'll create your restaurant profile, configure basic settings, and be ready to add your team.
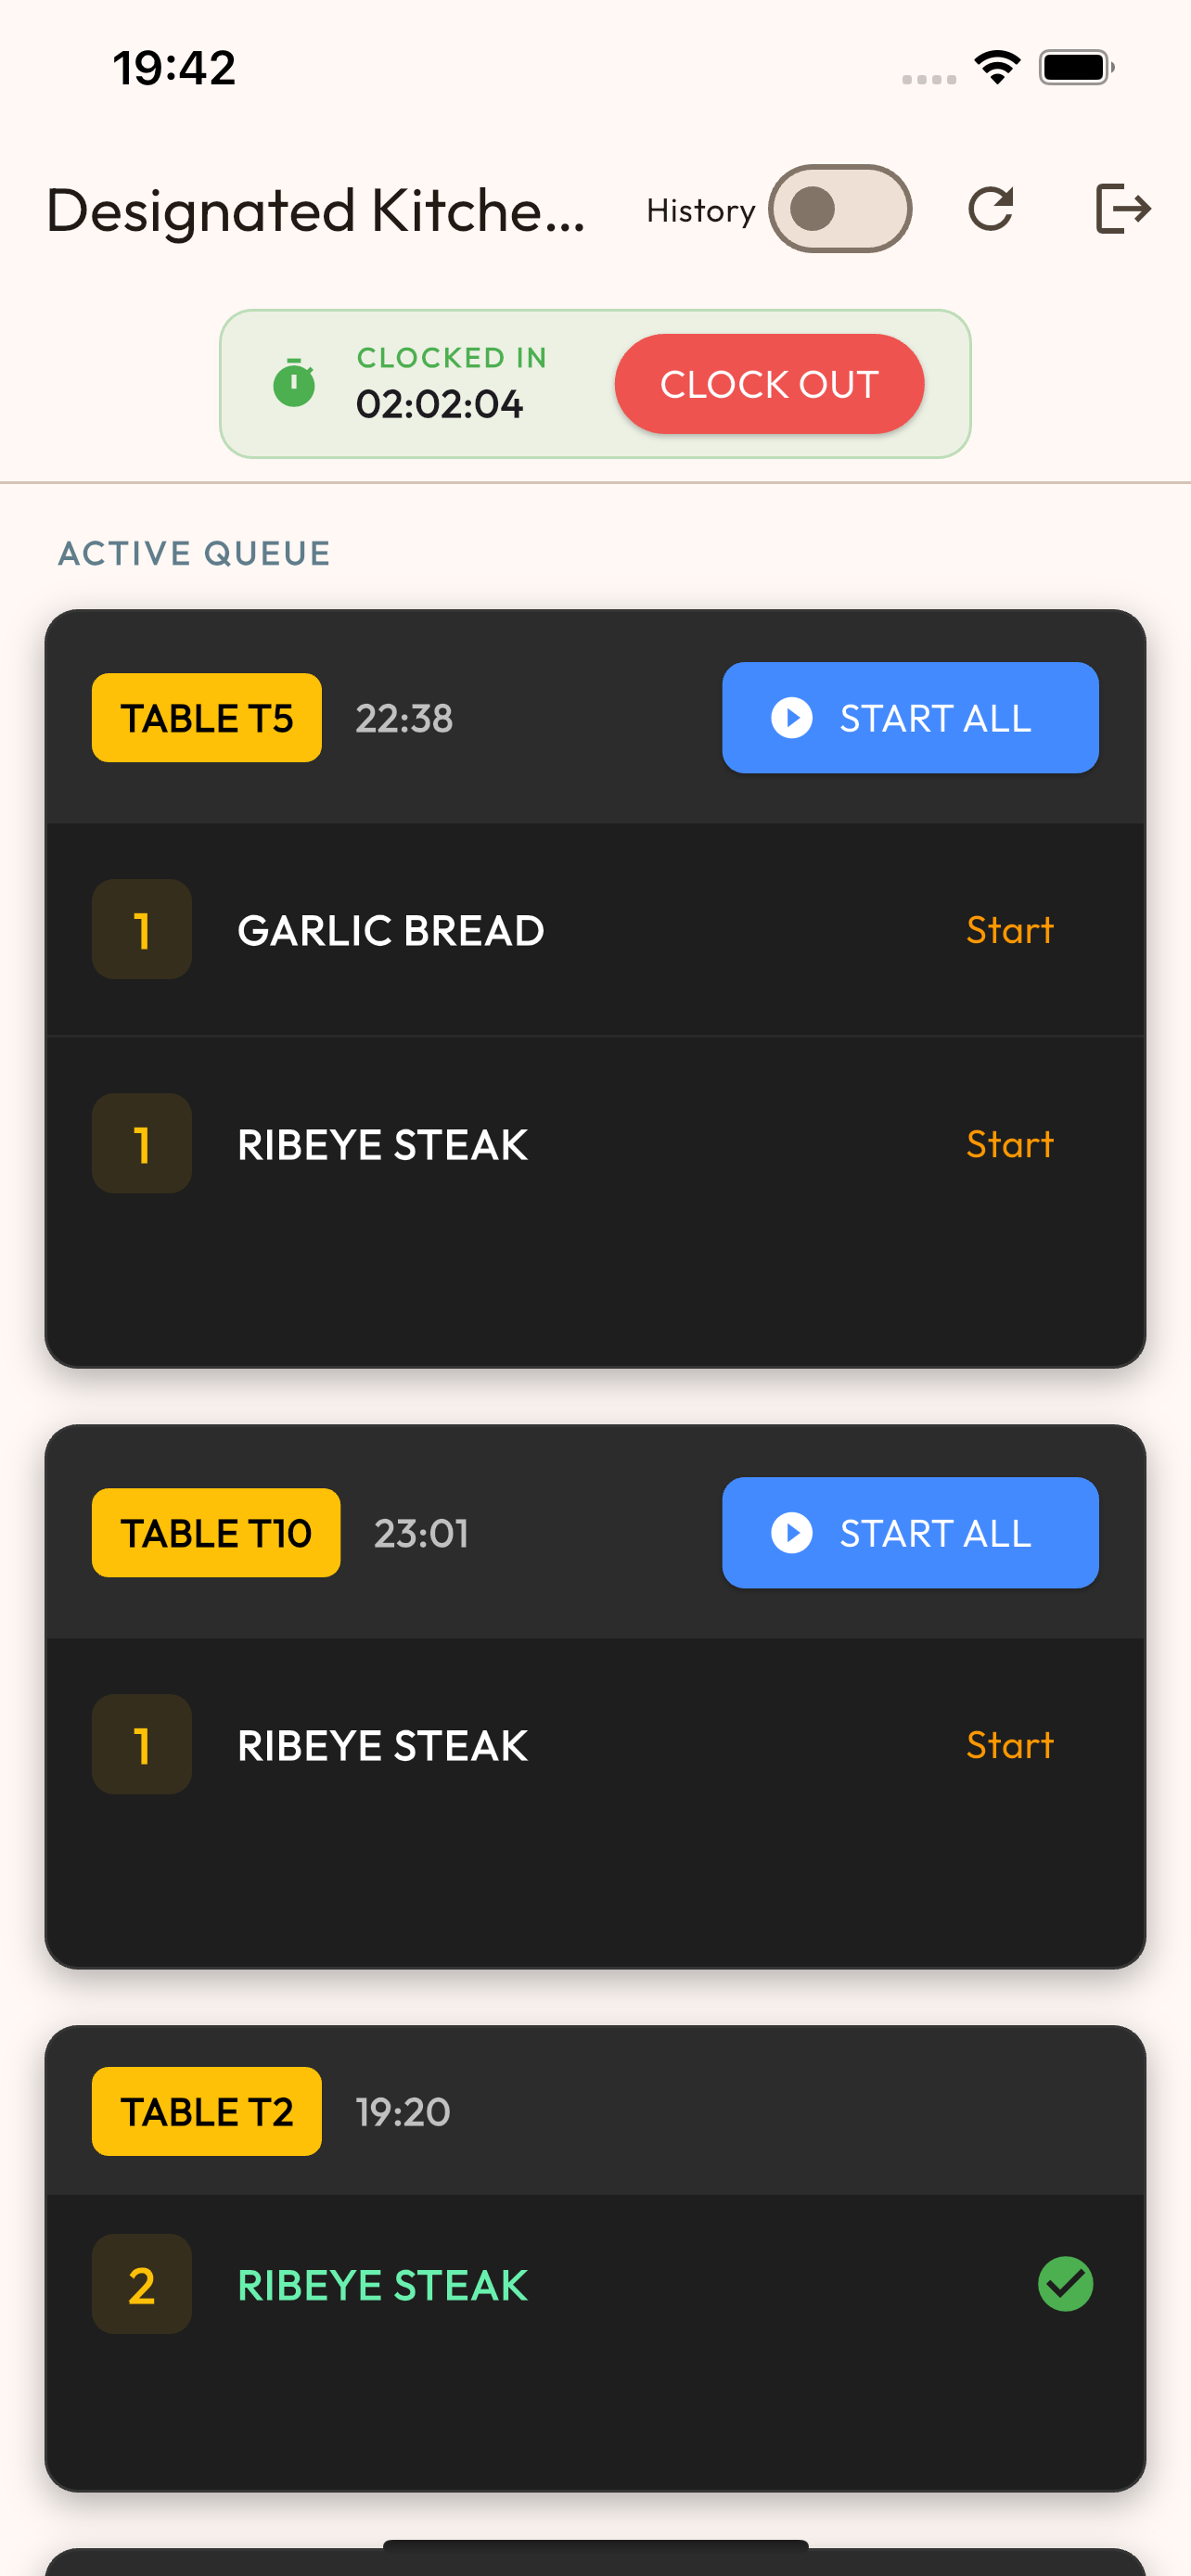
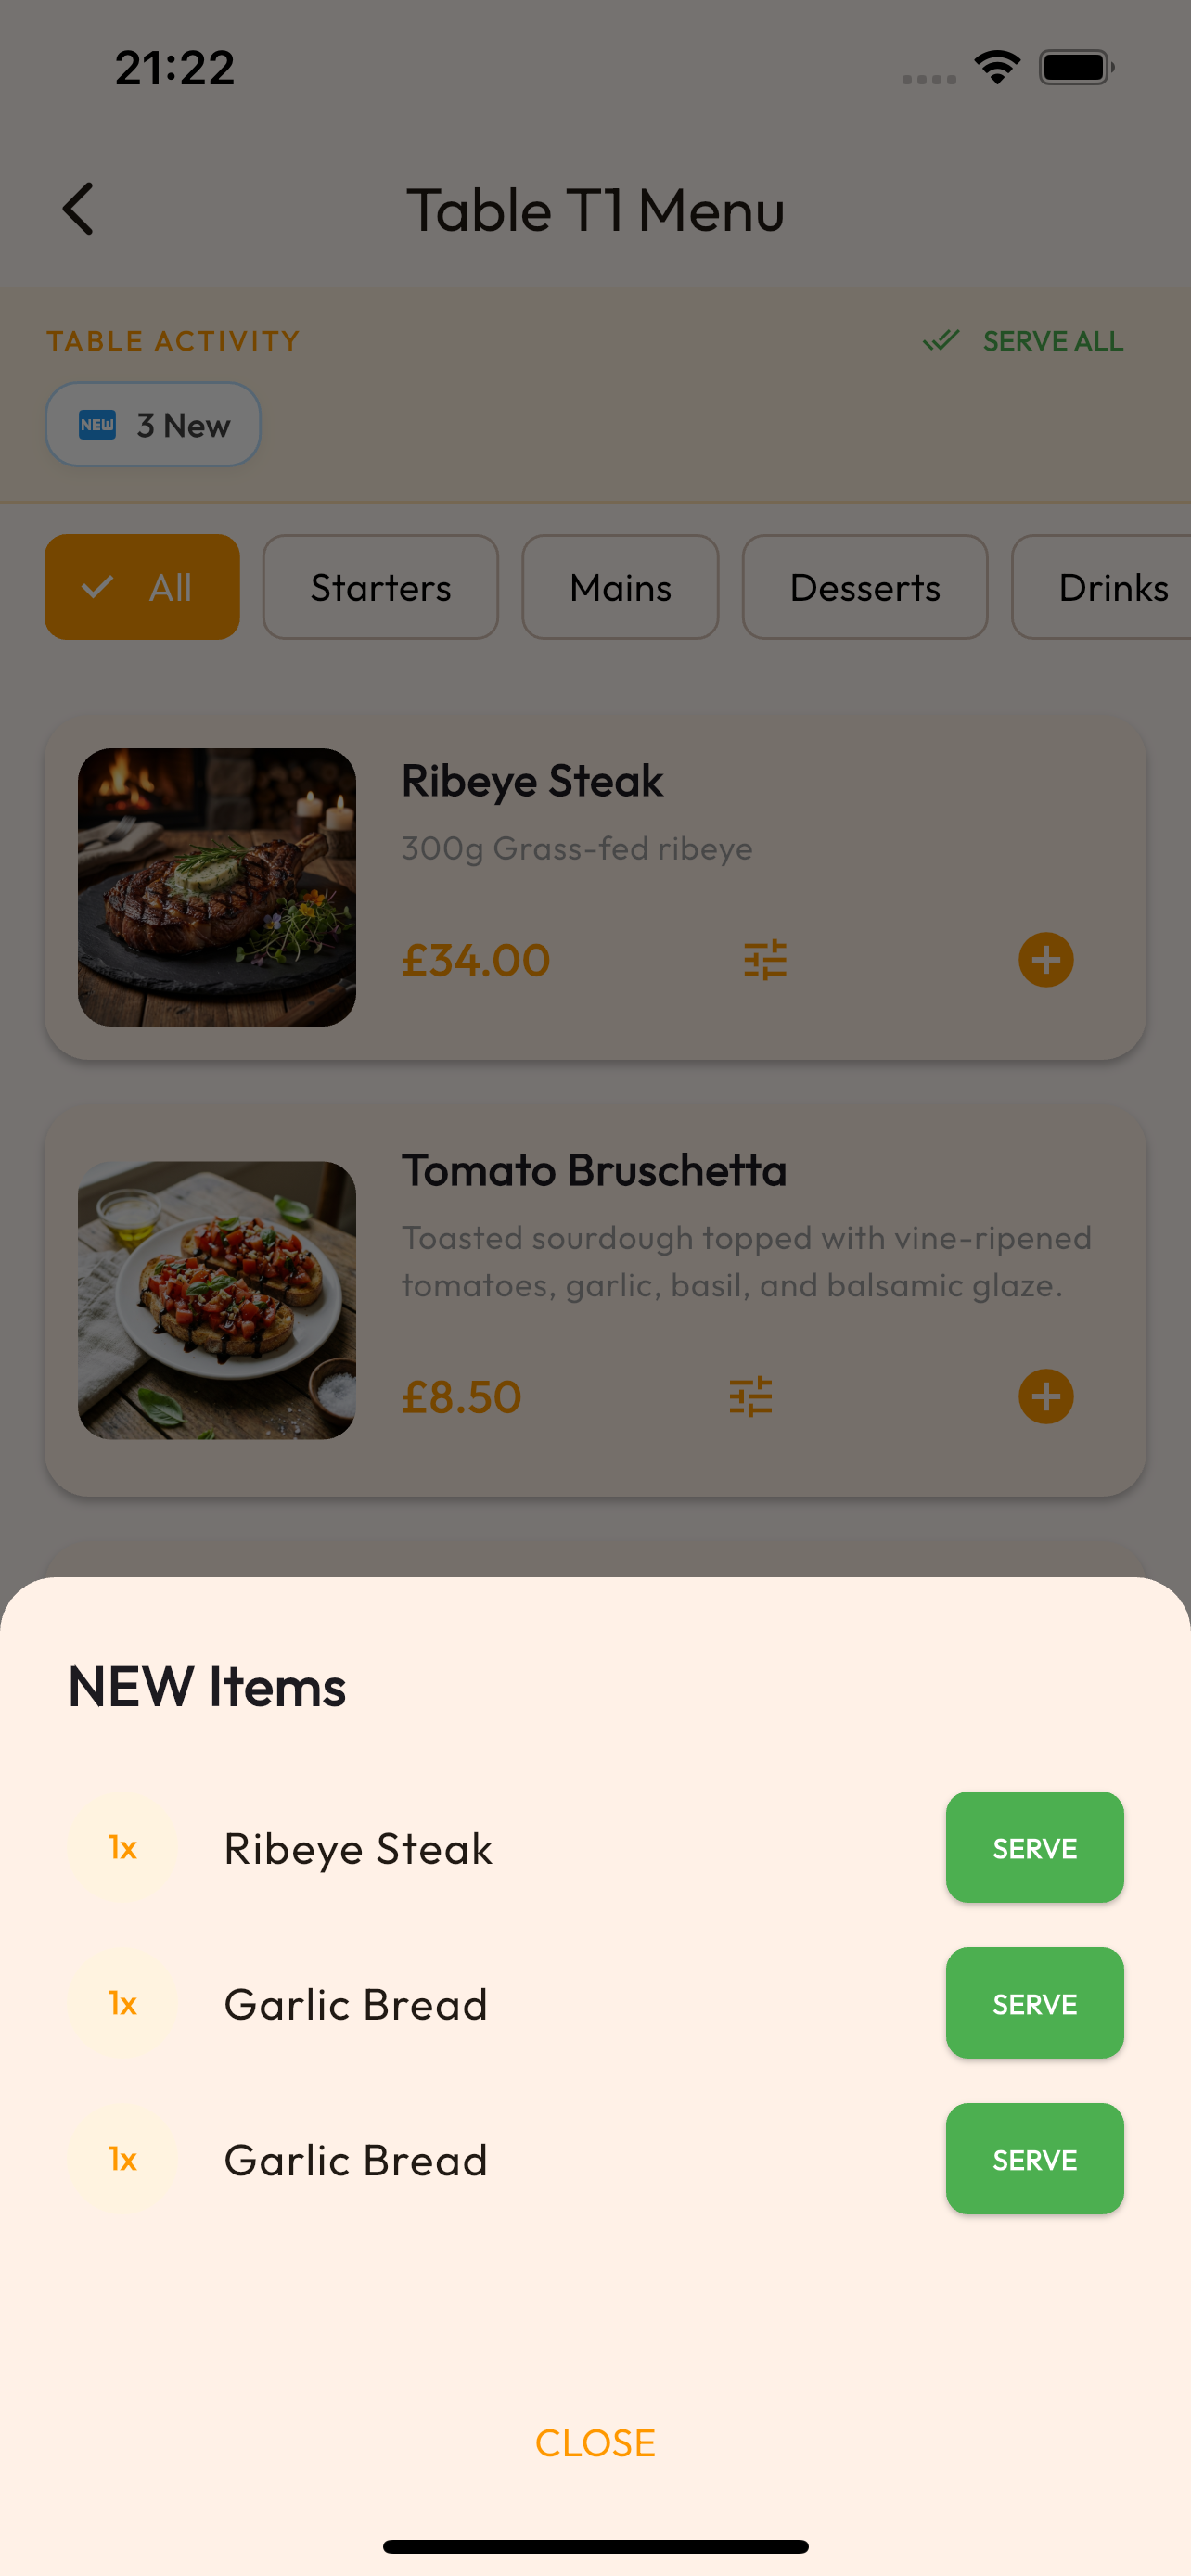
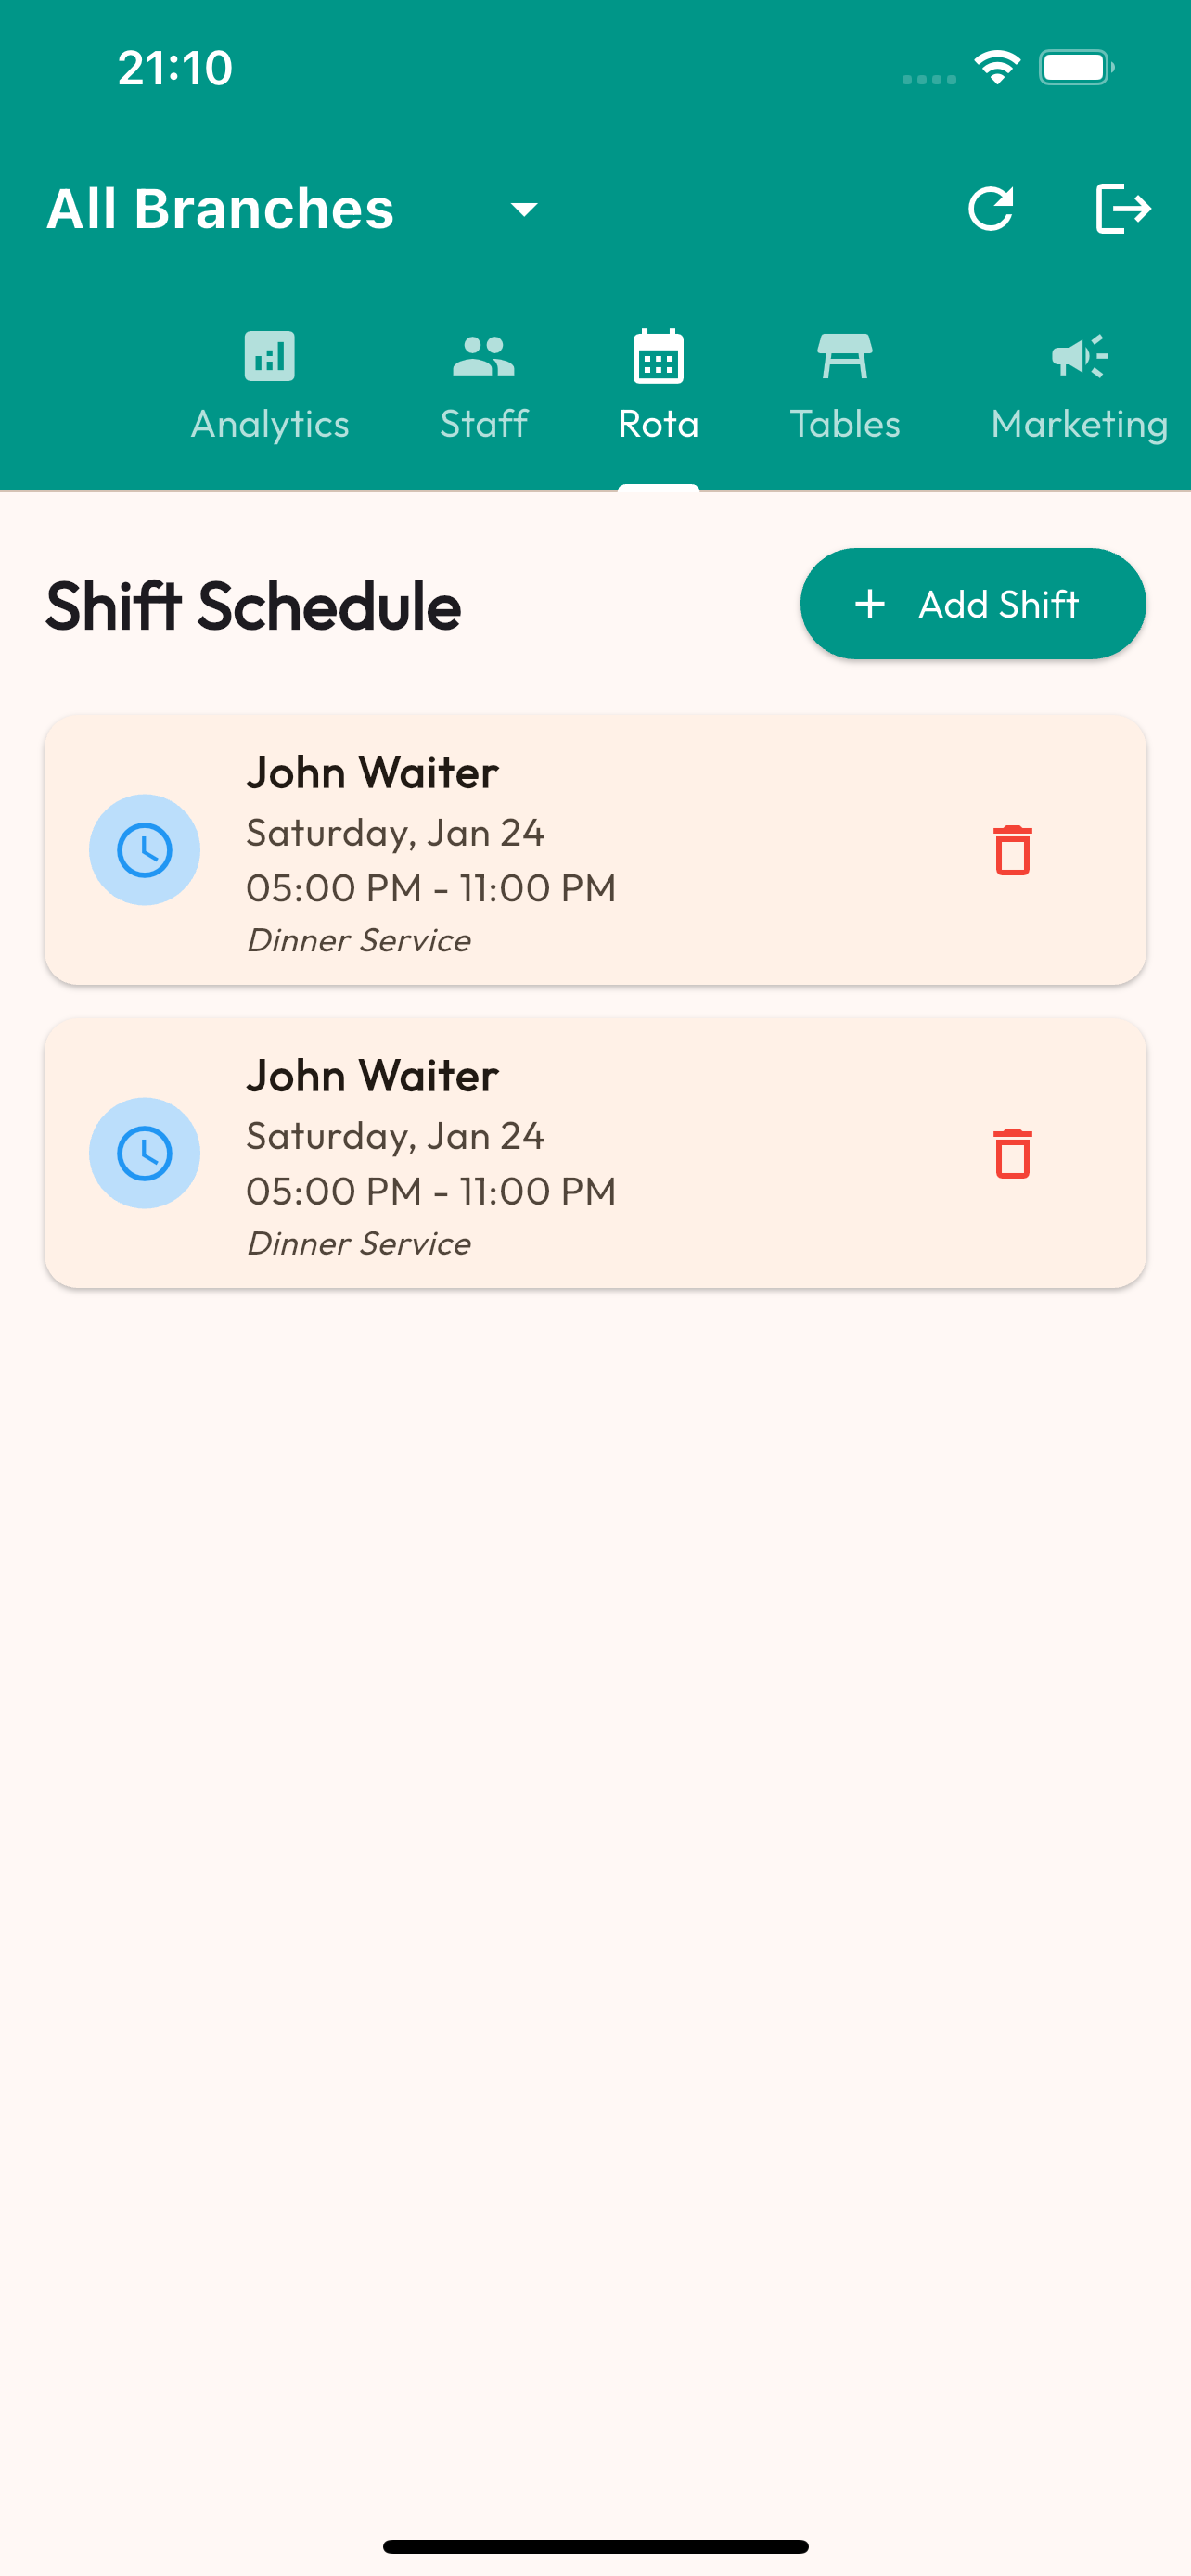
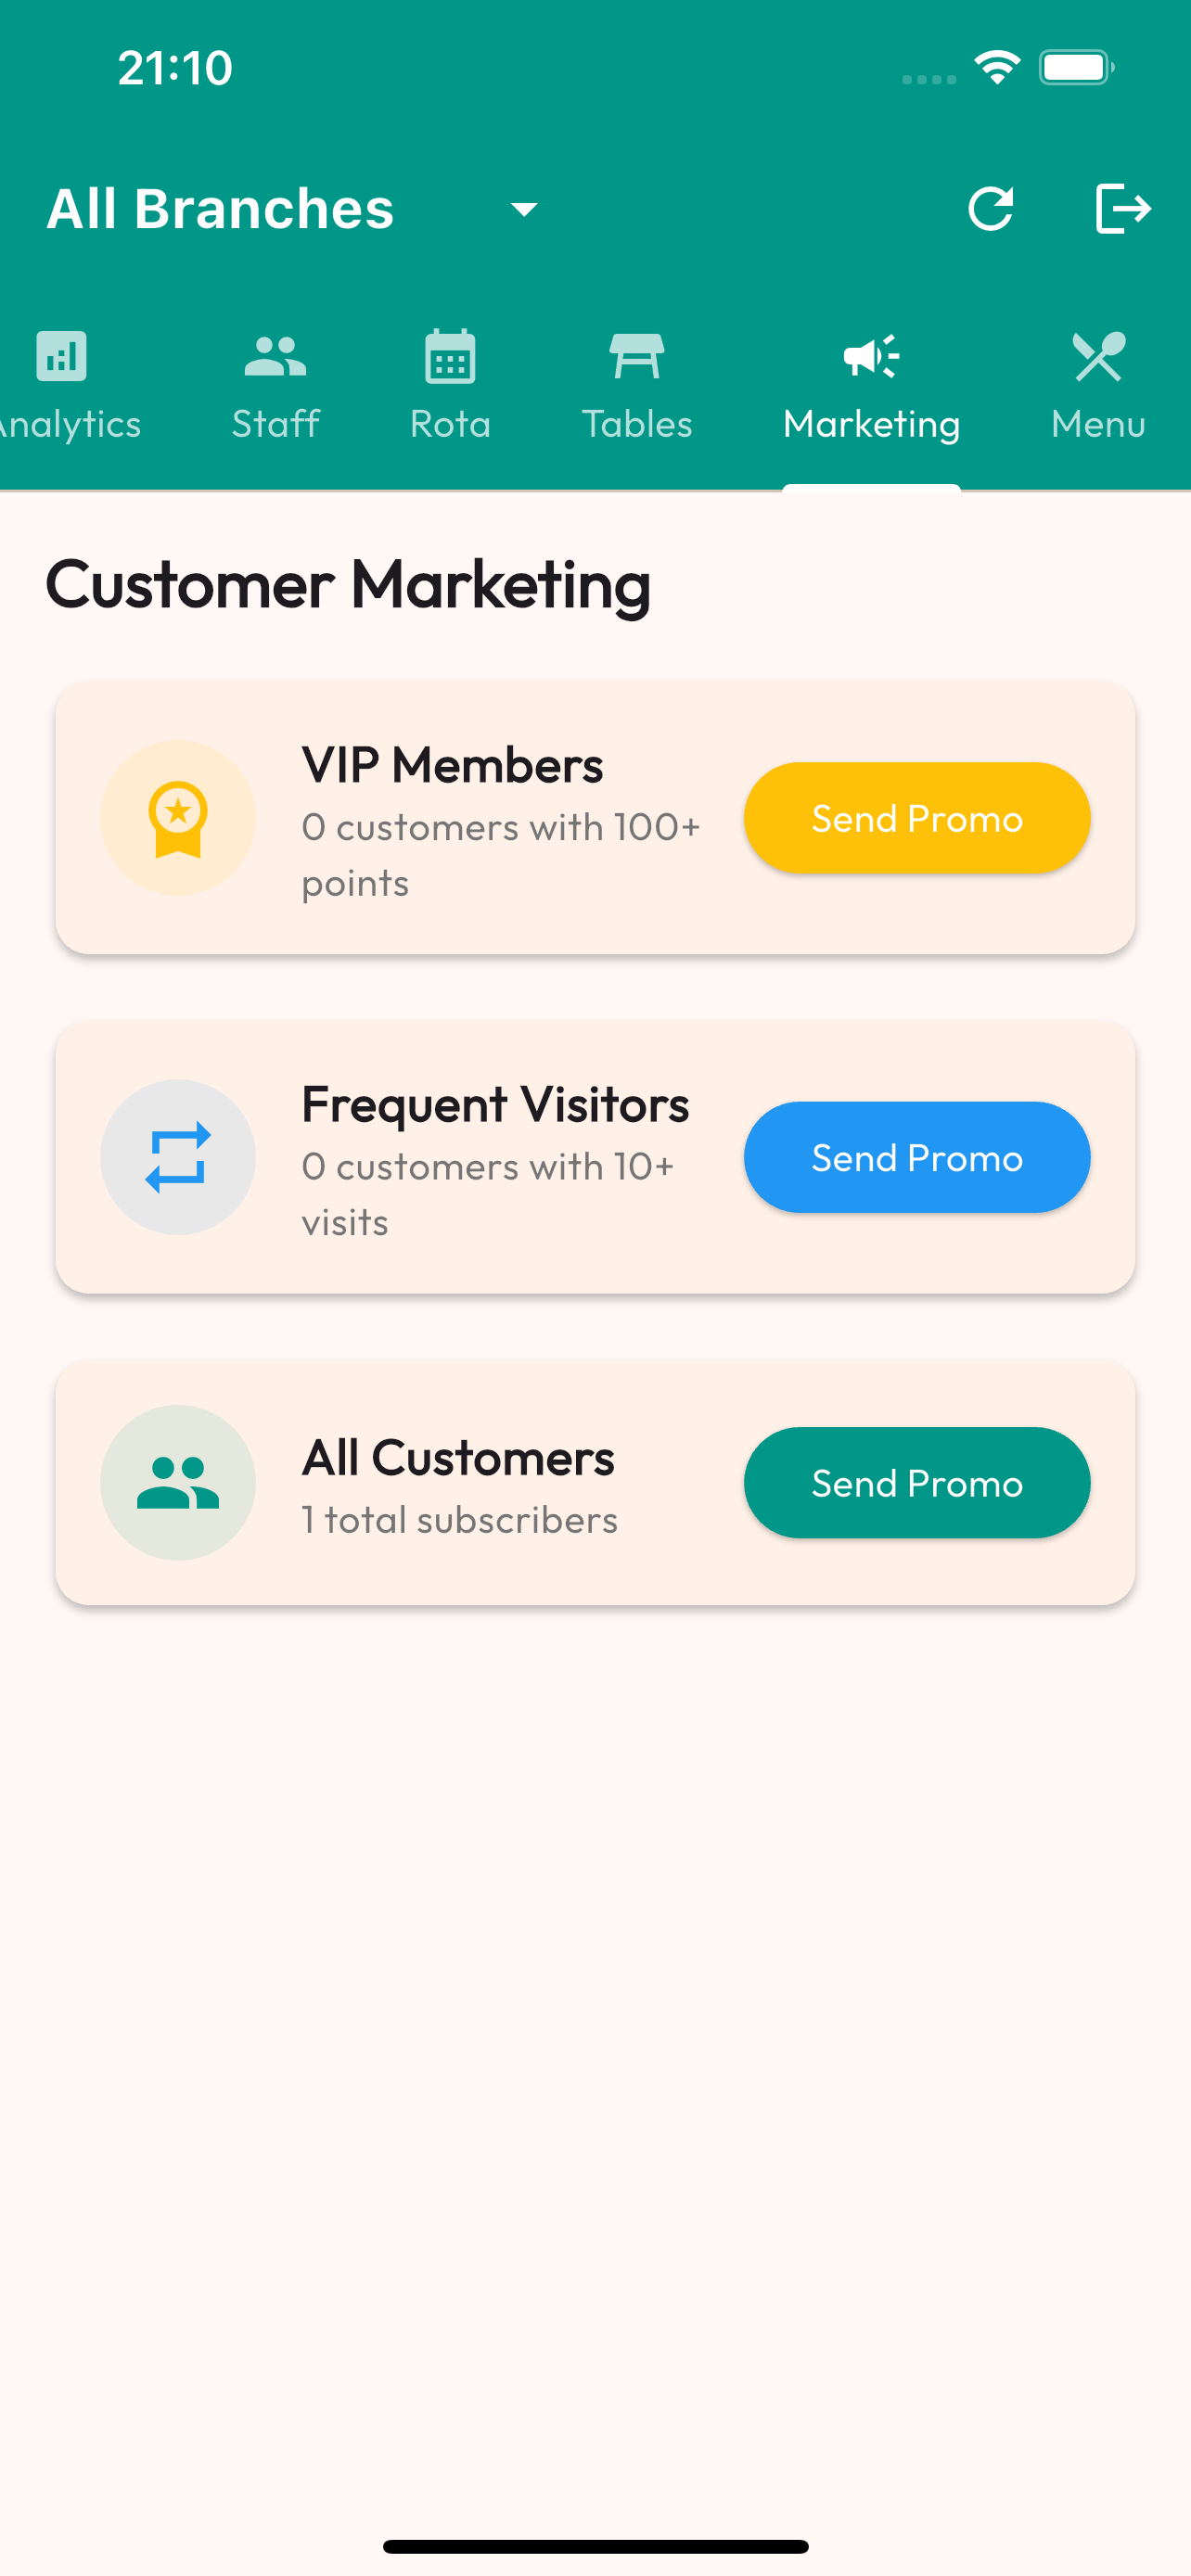
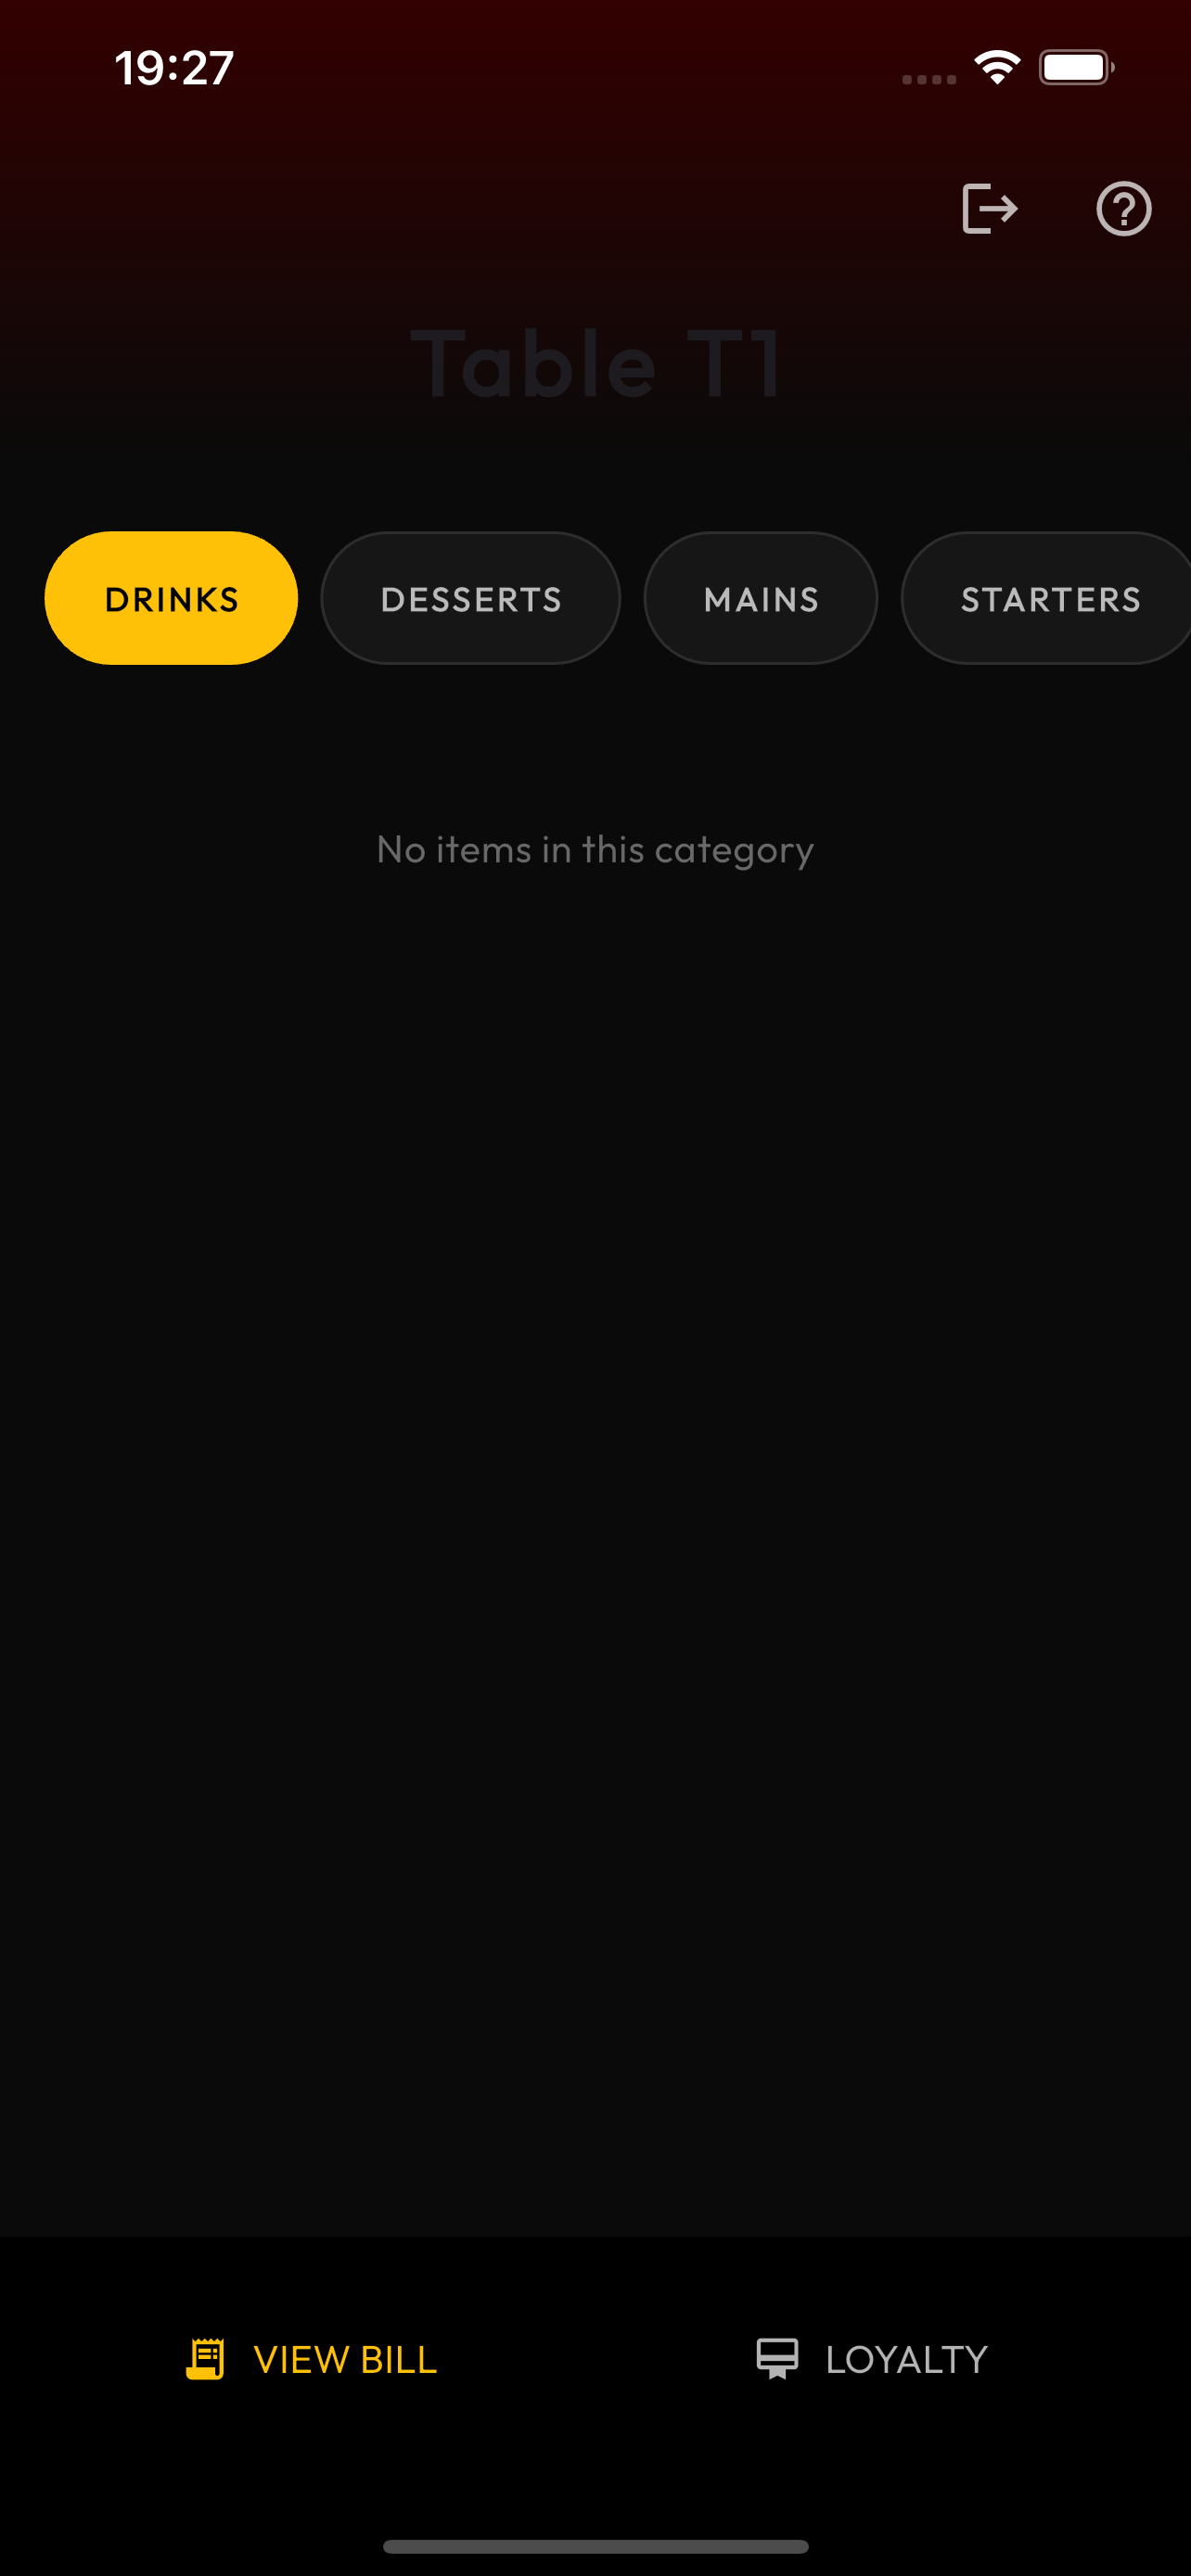
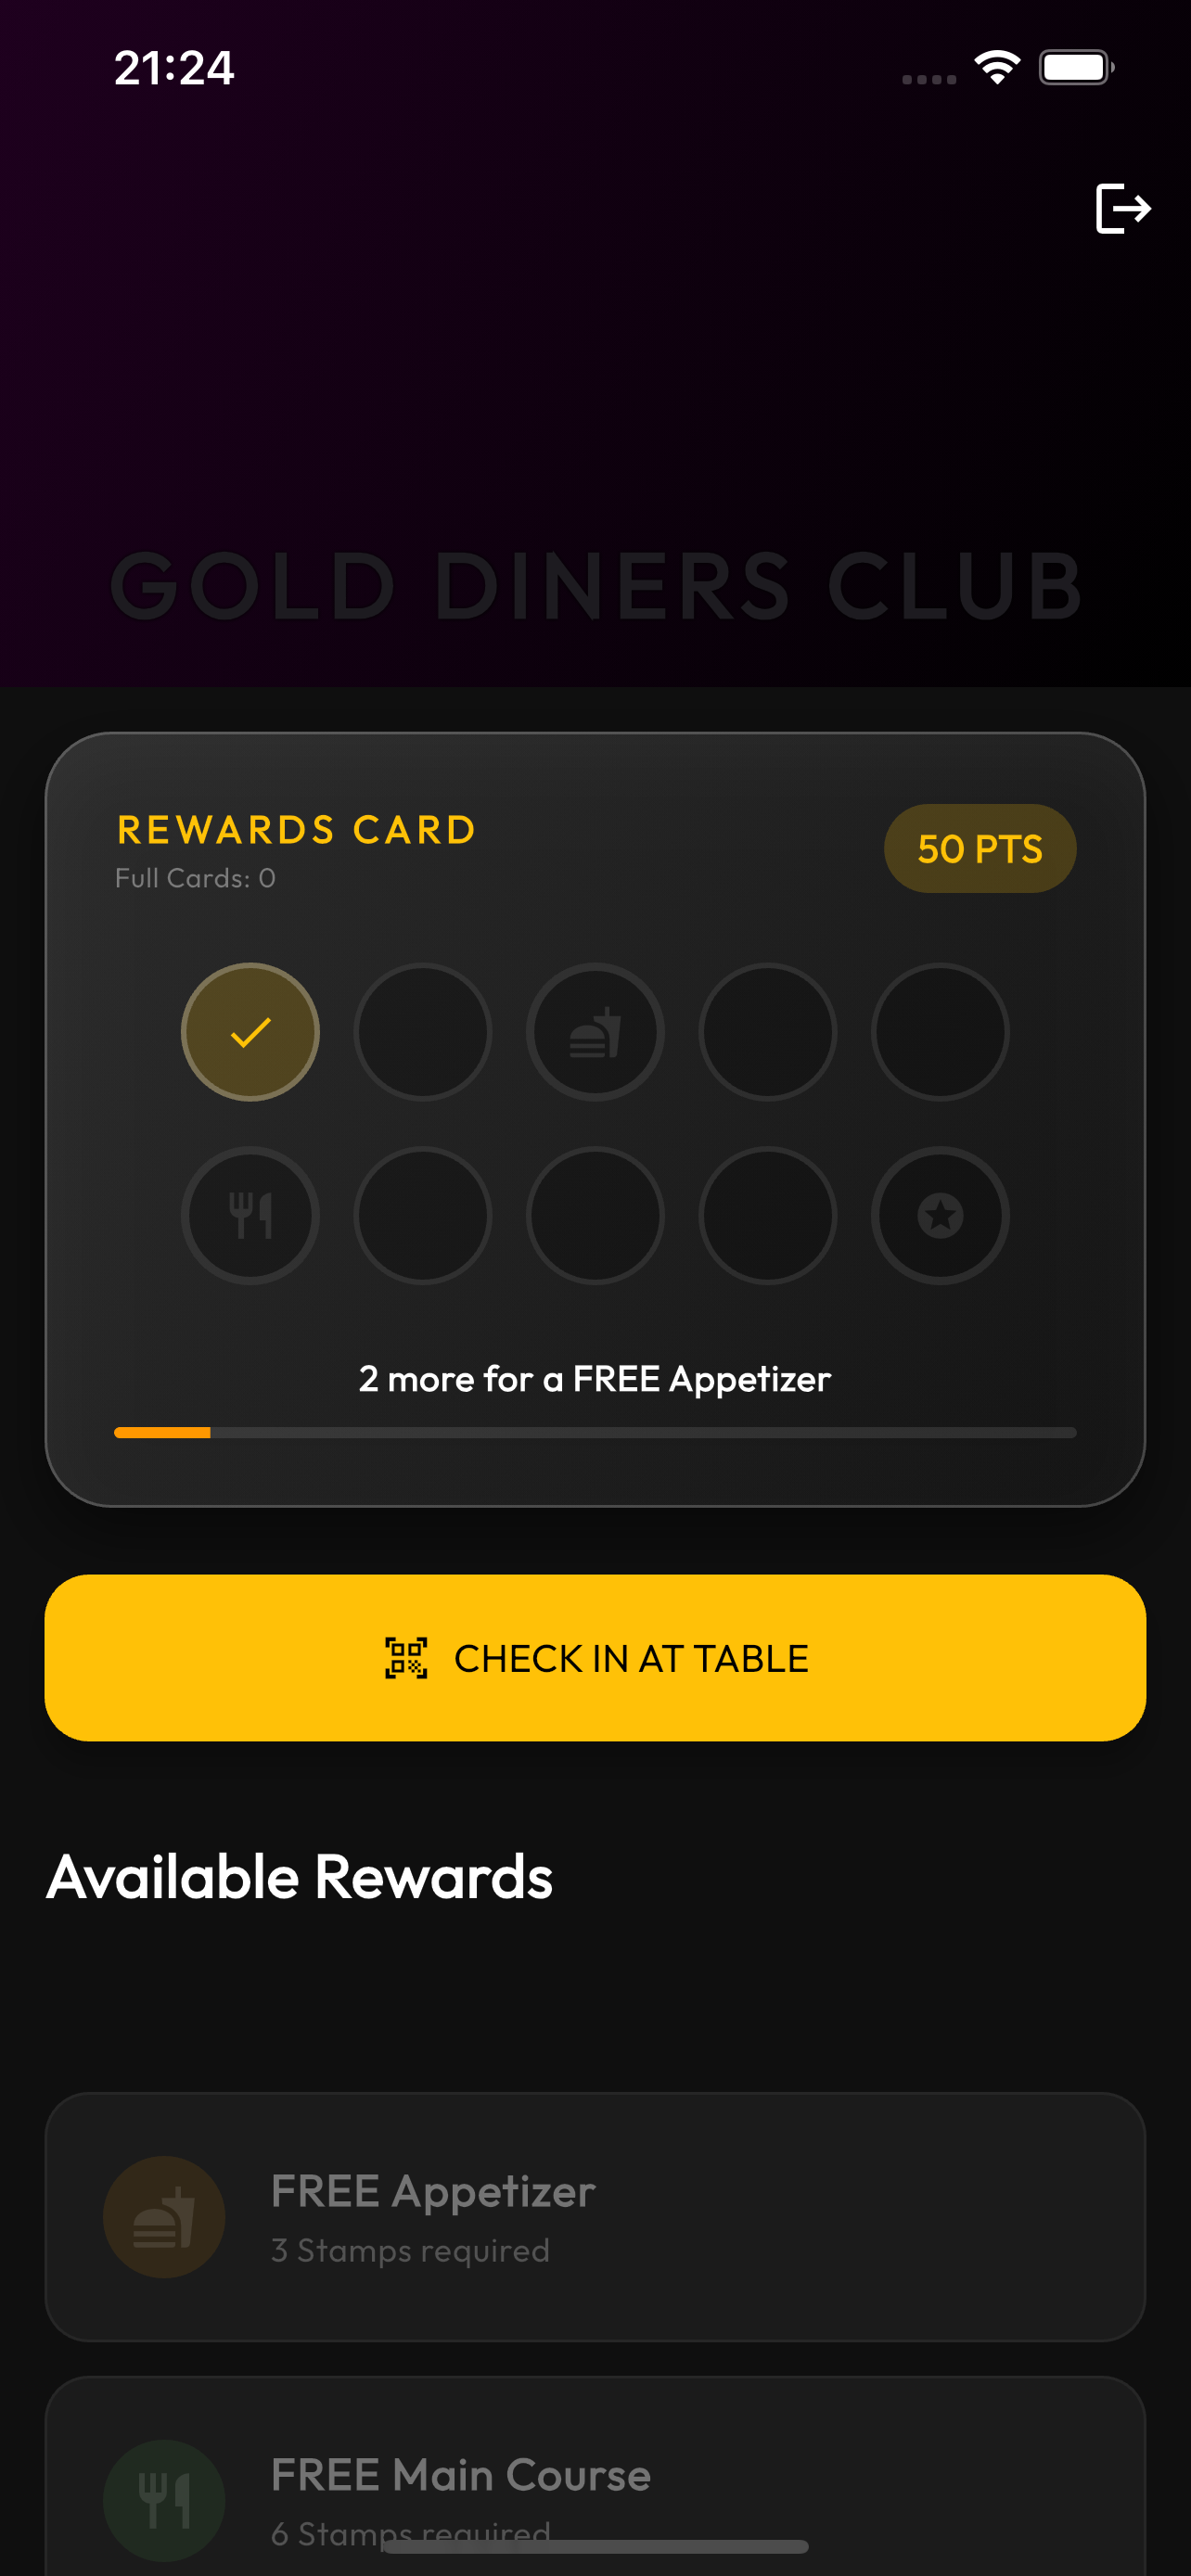
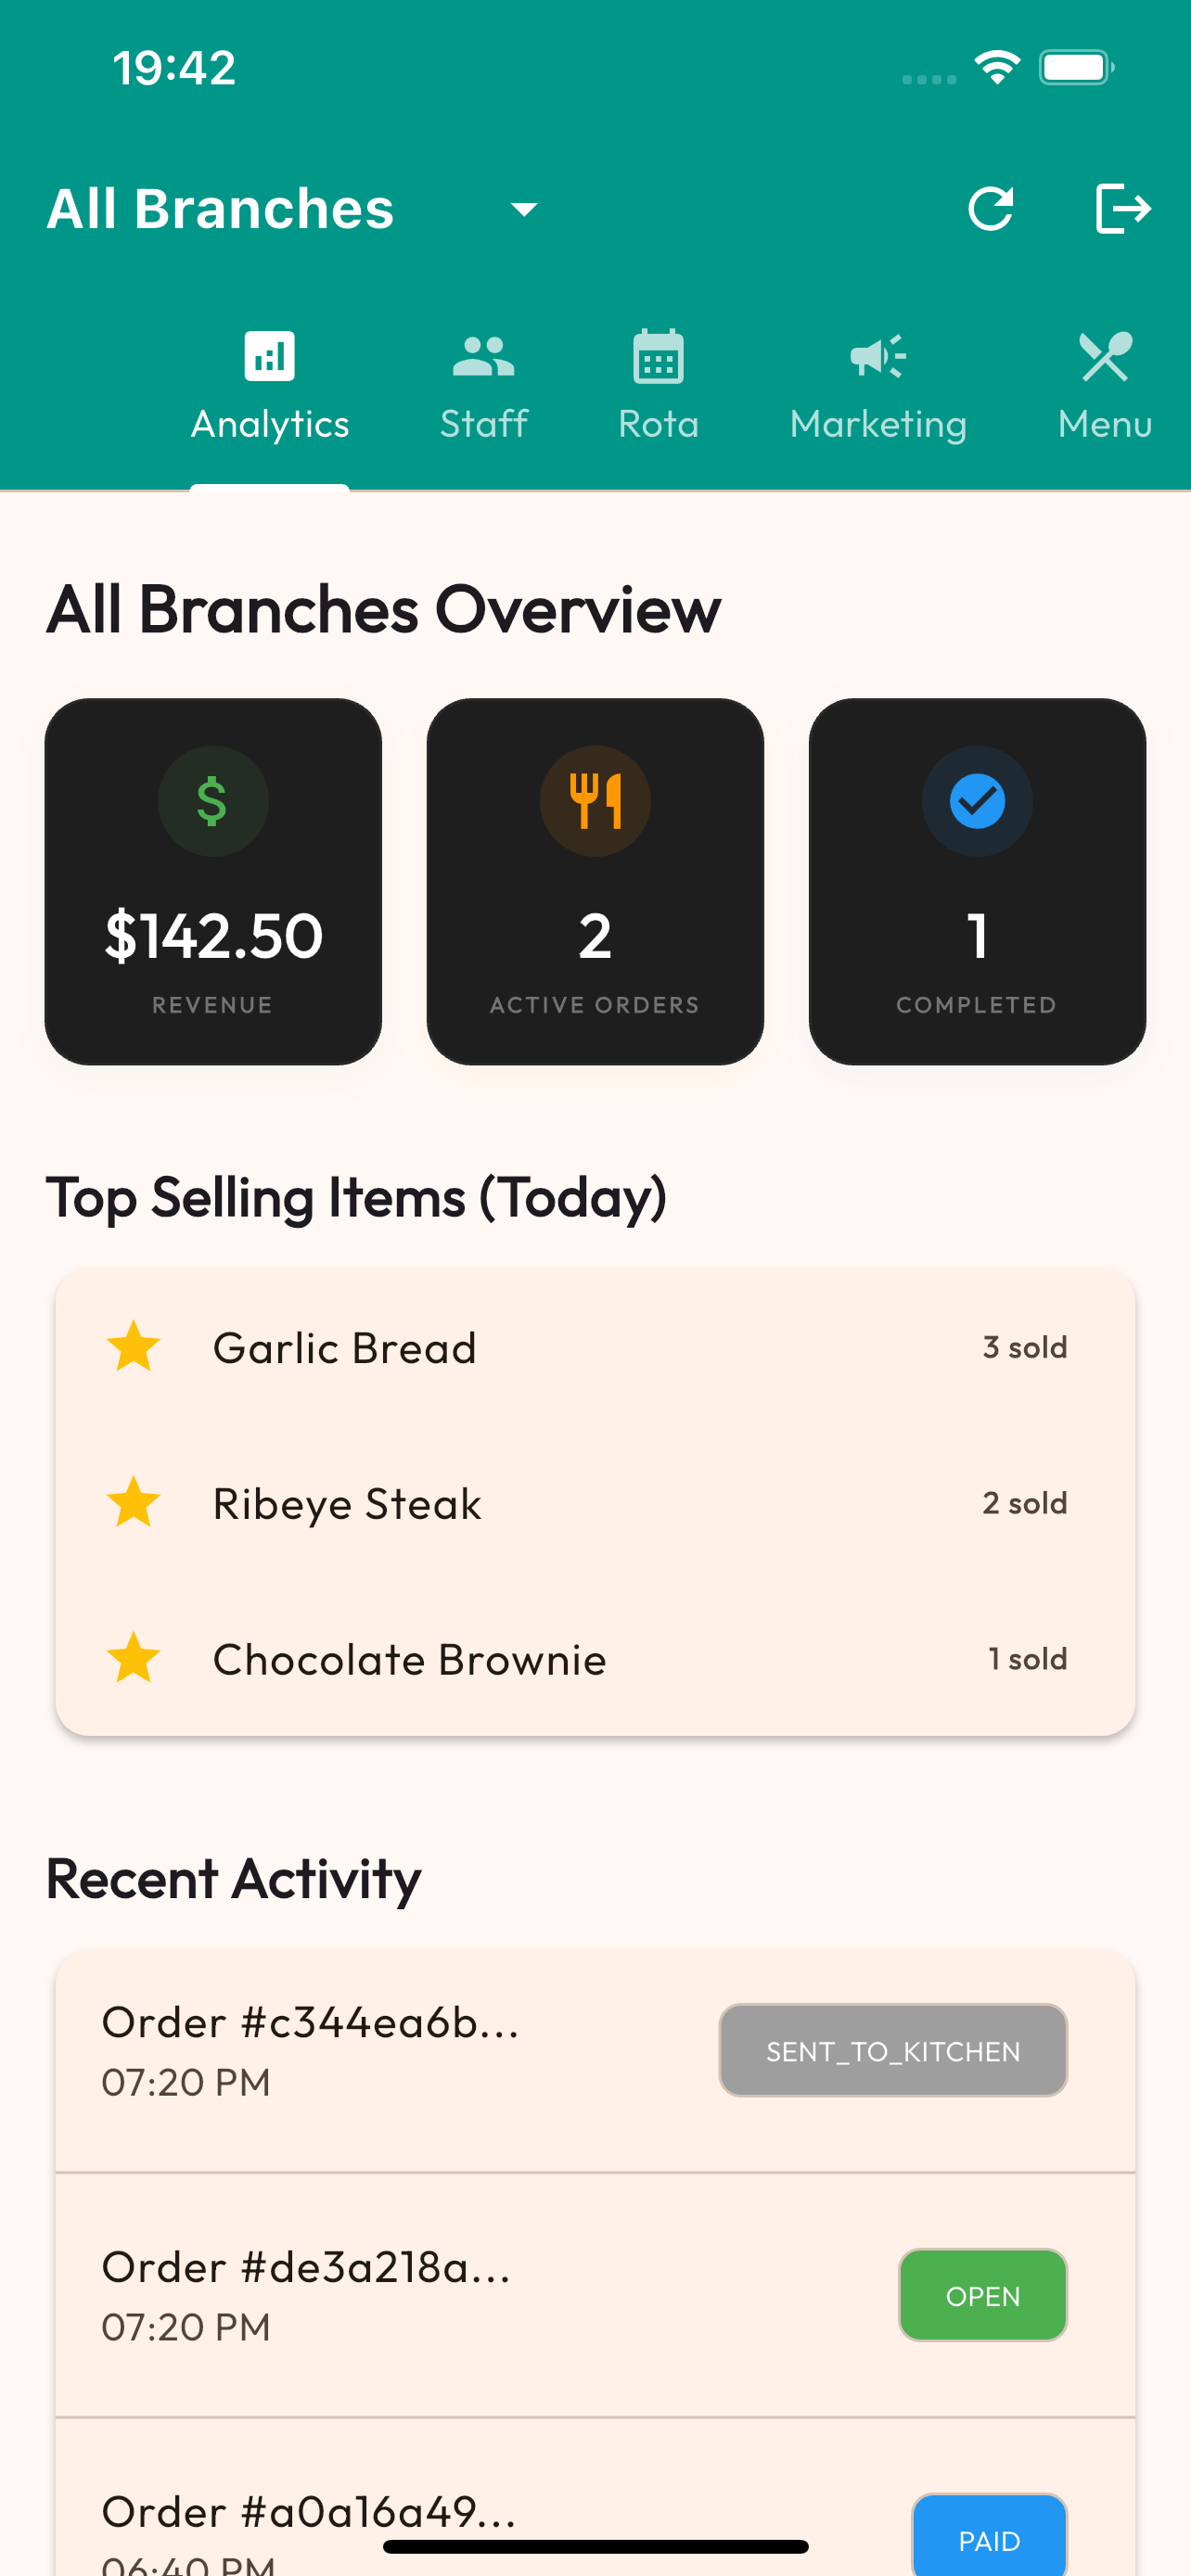
Visual Guide
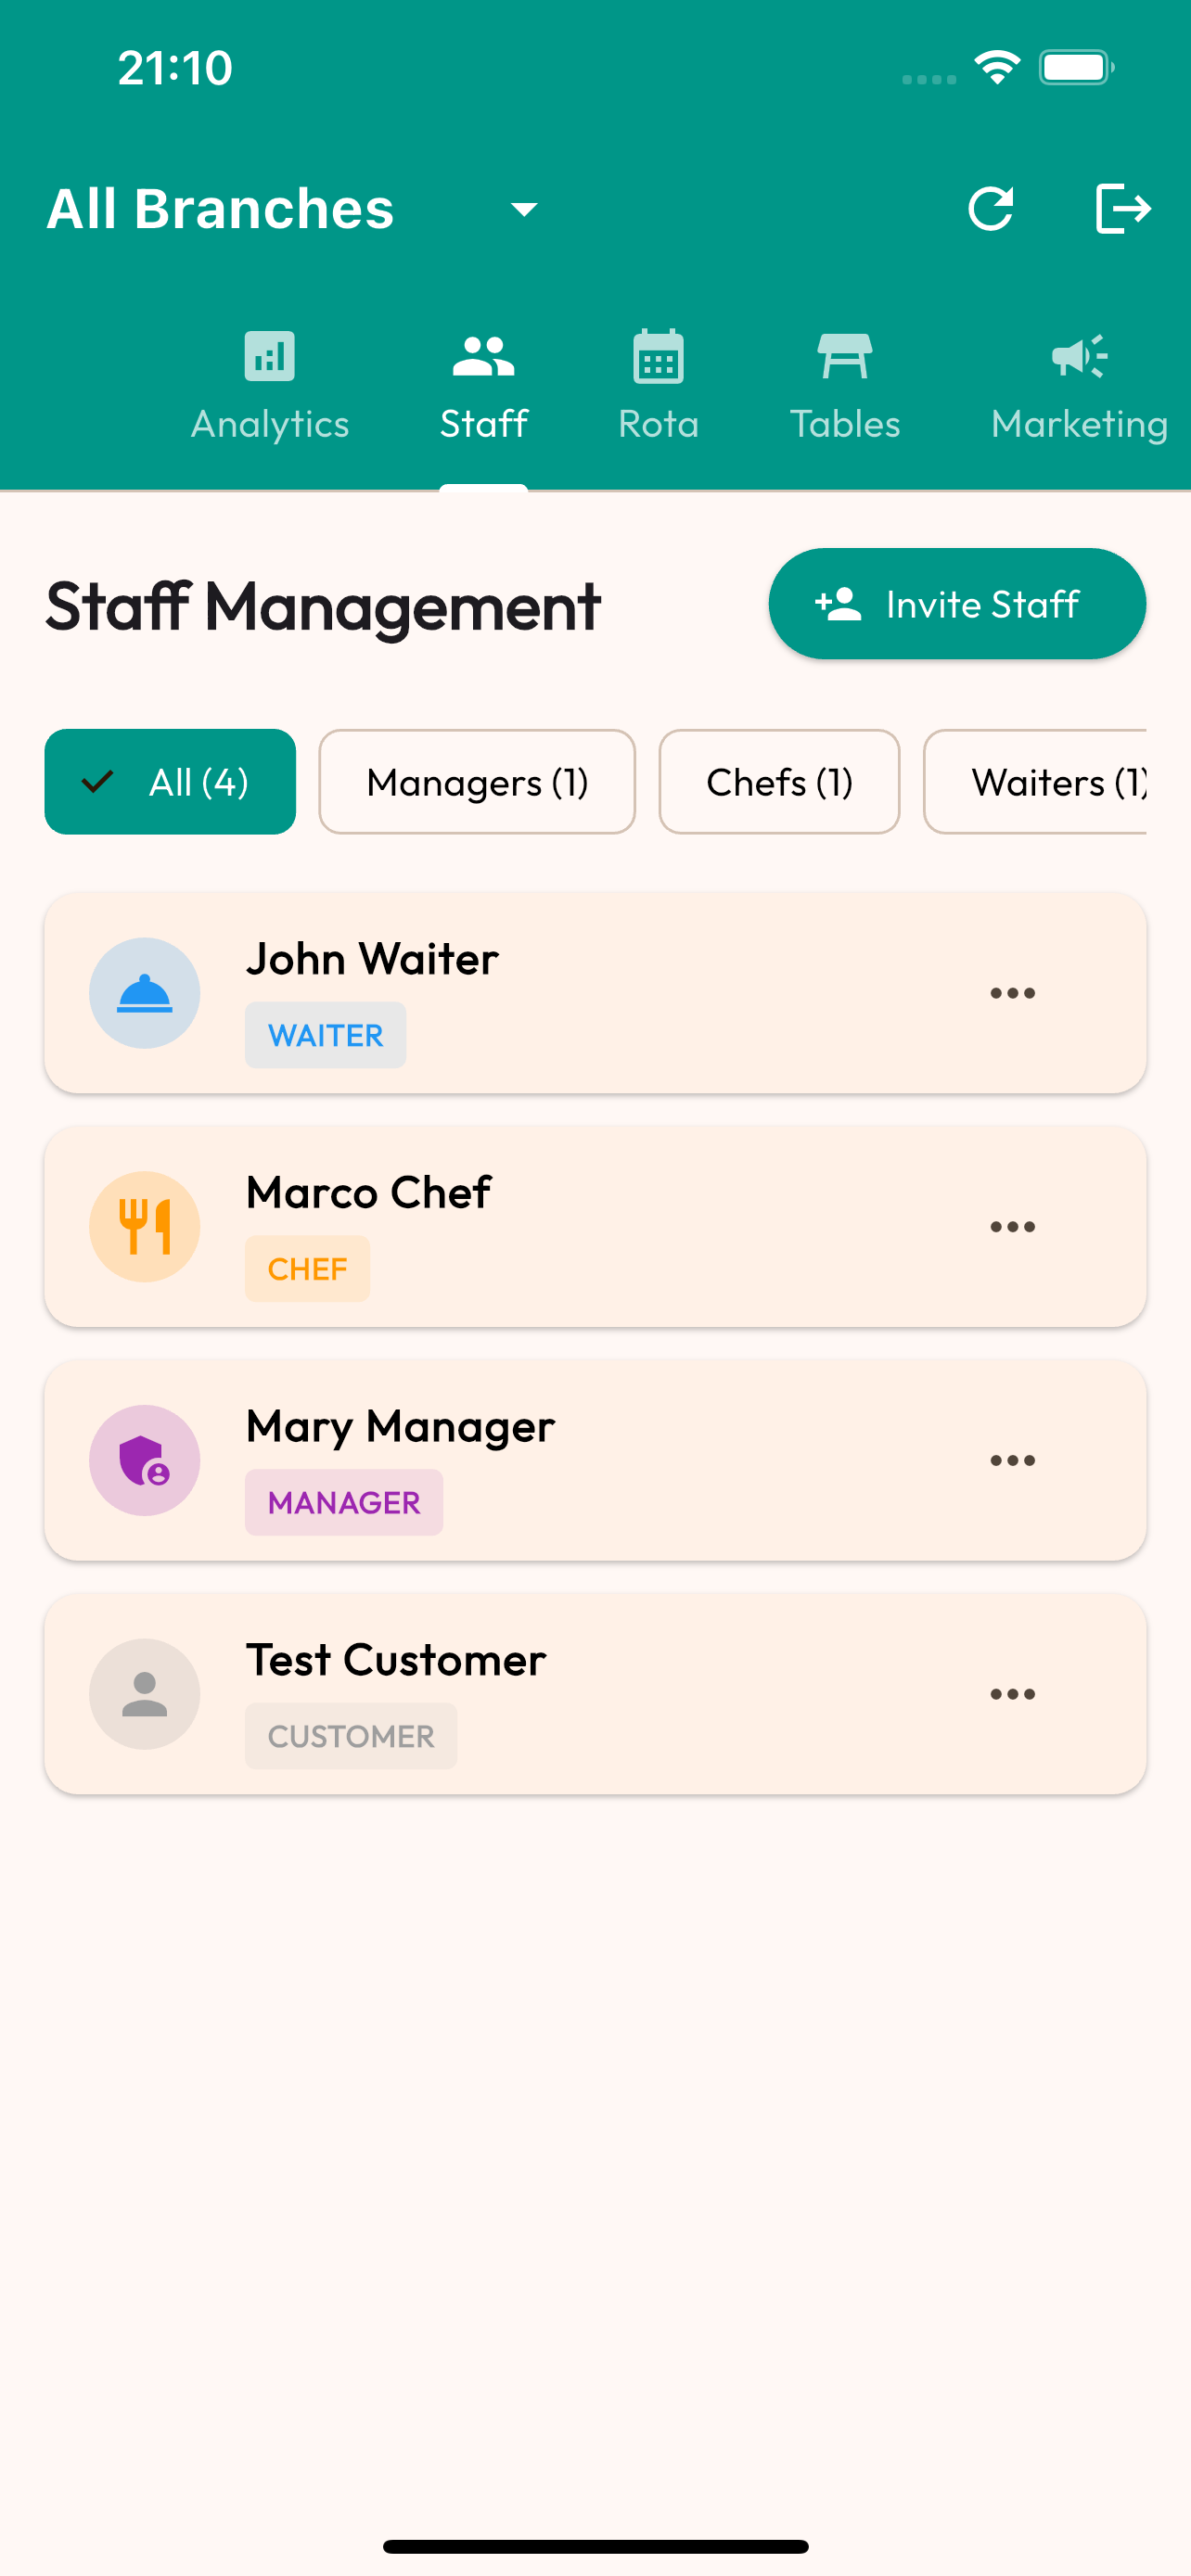
How to Set Up
- Visit the signup page - Click "Book Free Demo" or "Get Started" from the homepage
- Enter restaurant details - Provide your restaurant name, email, and phone number
- Verify your email - Check your inbox for a verification link
- Complete your profile - Add your address, cuisine type, and operating hours
- Choose your plan - Select the number of staff members (£20/mo base + £5/staff)
💡 Tips & Best Practices
- Use a dedicated email for your restaurant (not personal) for better organization
- Have your business registration details handy for faster setup
- Start with a conservative staff count - you can adjust anytime
Common Questions
Do I need a credit card to sign up?
No! You can explore the demo without any payment information. We only ask for payment details when you're ready to go live.
Can I change my plan later?
Absolutely. You can adjust your staff count up or down at any time from your account settings. Changes take effect immediately.